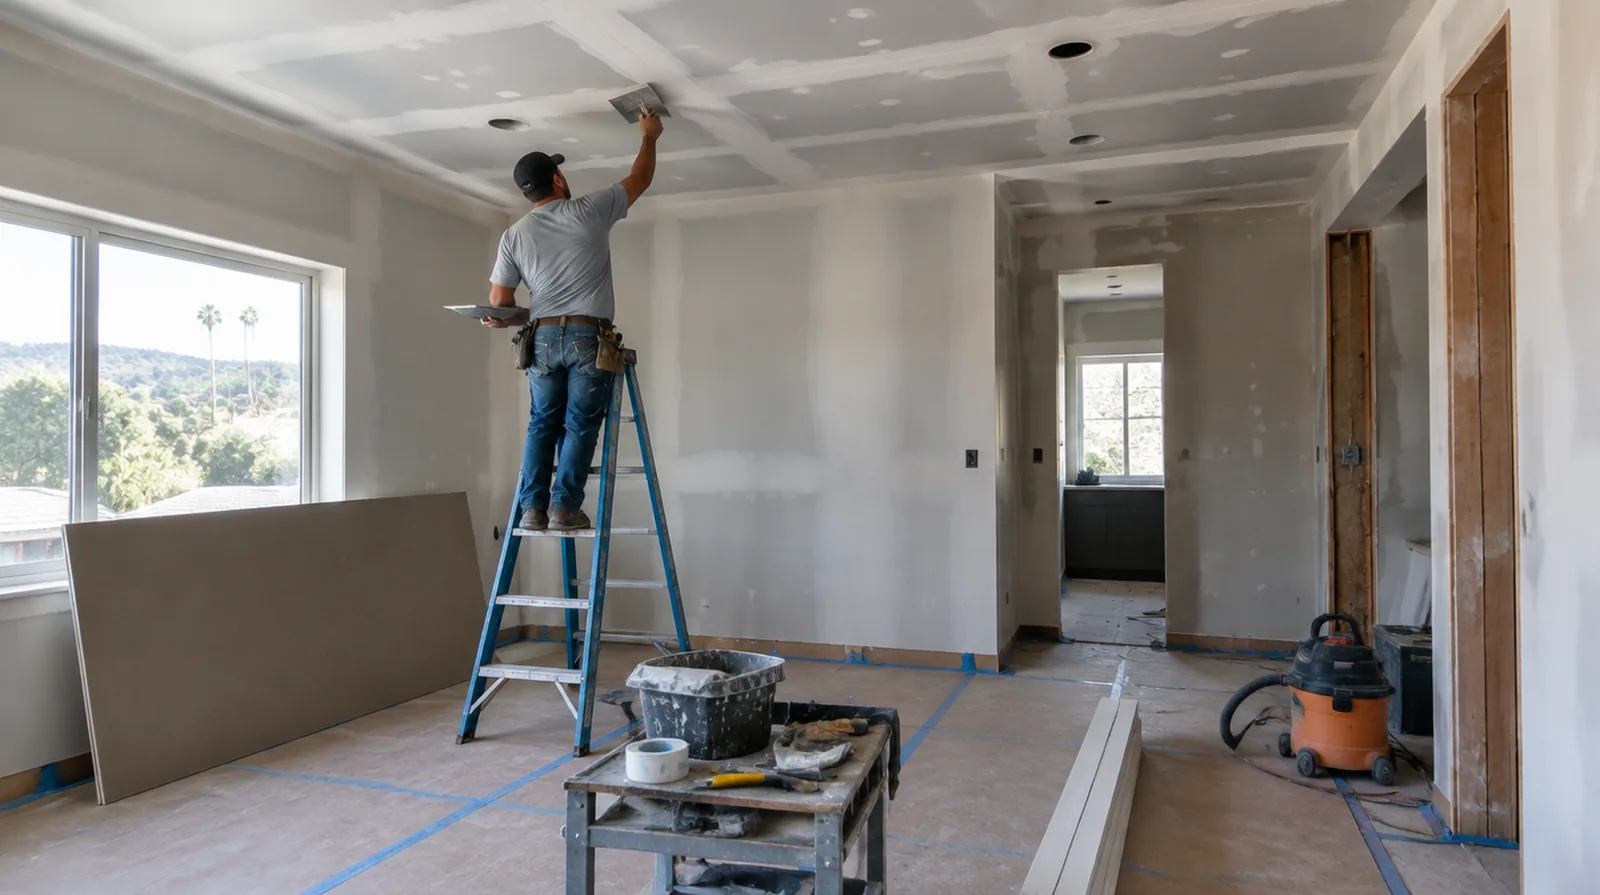
Discuss texture expectations
A smooth ceiling and a textured ceiling need distinct finishing plans around the repaired section. A representative sample makes it easier to judge whether the current pattern can be blended locally. When reviewing the finished work, use the agreed lighting and natural room viewpoints so the assessment reflects the intended use of the space.
Separate fixtures from board work
Electrical fittings, sprinkler components and mechanical grilles can involve other trades or building approvals. Assign removal and reinstatement responsibilities for any fitting that blocks safe repair access. When the same defect has returned, share information about previous repair methods so the next assessment can consider why they did not last.
Set the repainting scope
Fresh paint over a local patch may contrast with a ceiling that has aged over time. Painting to a natural boundary may be preferable to touching up only the repair. At a surface receiving strong window light, review a dried trial from the side in addition to the normal straight view of the wall.
Address isolated stains
A dry repaired ceiling may still need a compatible stain blocking primer before decorative paint. Confirm that the source is no longer active instead of treating primer as a remedy for damp material. When more damage could be hidden, ask how any added scope will be documented before extra material is removed or replaced.
Plan overhead access
Plan suitable overhead working access around the room height and its contents. Large fixtures and delicate flooring can affect setup time more than the size of the damaged spot. When photographs are used for an initial discussion, include a wide room view as well as a close view so scale and surrounding finishes are understandable.
Add reliable backing
Support a ceiling replacement mechanically at its perimeter instead of using finishing compound as a structural attachment. Matching the thickness of the board helps avoid a noticeable step between old and new surfaces. When the history of a repair is uncertain, note when it became noticeable and whether its appearance has altered across different seasons.
Treat the joints overhead
Tape and compound reinforce the patch boundary while successive coats build a broad shallow blend. Overhead seams can be conspicuous because windows often send light almost parallel to the ceiling. At an edge beside built in furniture, state whether the obstruction will be removed or whether finishing stops at the section that can be reached.
Cut back to sound material
A reliable replacement cannot depend on board that has lost strength through water exposure. Cut to a stable boundary that also permits secure fixing and an effective finishing blend. For a wall receiving a decorative covering, provide its preparation requirements early enough for the drywall finish to support that product.
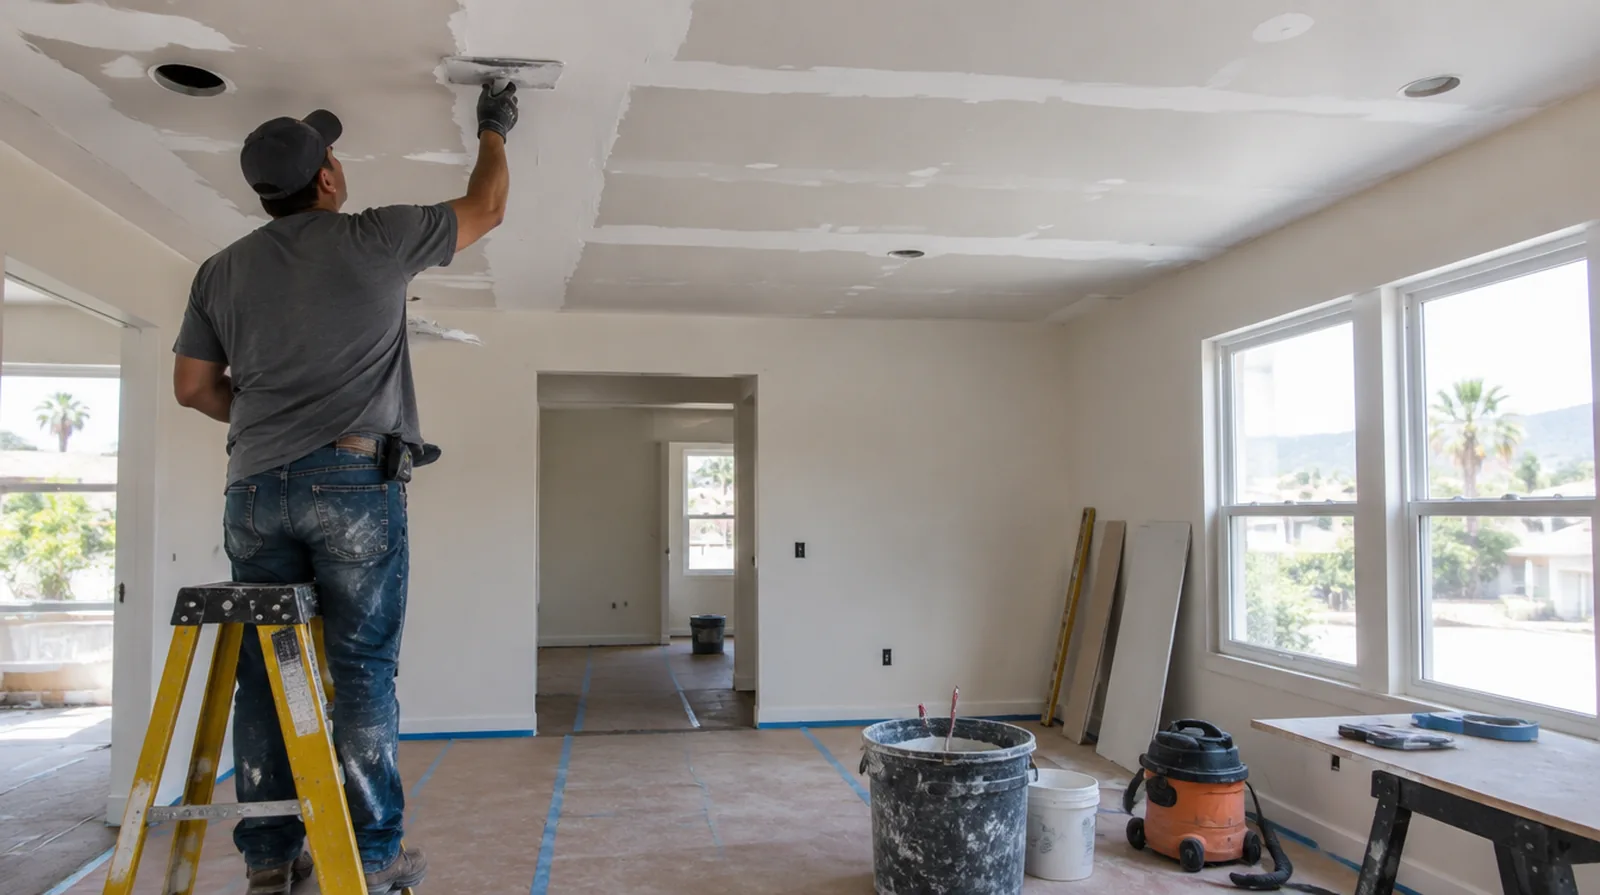
Review the room after drying
Once the coats are dry, view the ceiling from normal room positions and near its principal windows. Identify outstanding paint preparation while protection and access are still available. When the history of a repair is uncertain, note when it became visible and whether its appearance has altered across different seasons.
Check the source of damage
A ceiling stain or soft area may be caused by plumbing or another moisture source above the room. The cause needs resolution before cosmetic repair can reasonably be expected to last. When the protected room includes a doorway, check the clearance for panel movement as well as the amount of space available for finishing tools.
Project context in Pomona
A small sample or a dry review under the room lighting can help settle expectations before the whole surface reaches the decorating stage. During hot weather, the room itself may be cooled, so outside temperature does not tell the whole drying story.
Scope questions before finishing
Before comparing two proposals, check that both include the same protection, finishing and cleanup boundaries rather than comparing totals alone.
When a paint contractor follows the drywall work, define the surface condition being handed over and decide who handles any minor final touch ups.
If an independent painter completes decoration, agree the condition of the handed over surface and assign responsibility for small final corrections.
If the surface condition is uncertain, allow for an assessment that can distinguish stable material from layers that should not be covered.
If scheduling is the main concern, separate hands on labor from drying intervals instead of treating every visit as a full day of active work.
For a room that stays in use, set a workable boundary around construction while retaining the access people need for normal daily activities.
For a project with several trades, agree which inspection or handover point must happen before the next person starts work.
For a tightly furnished room, plan temporary storage and the minimum working clearance before material is carried into the property.
When panel replacement exposes a cavity, resolve any required inspection before that opening is closed and the finishing work begins.
When the decorative coating has been selected, tell the finisher its intended sheen and color while the substrate preparation standard is still being agreed.
At an edge beside built in furniture, state whether the obstruction will be removed or whether finishing stops at the section that can be reached.
If the wall work belongs to a broader renovation, coordinate its order with flooring, cabinetry and trim rather than scheduling finishing in isolation.
Explore the Pomona drywall overview for related options, or read the project planning information before arranging the next stage.
More planning details for Pomona
For a Pomona renovation, decide what the finished room will contain before closing an open wall. Shelving, cabinets and other fixtures can require backing or service coordination that is easier to address during installation. Strong side lighting can also make a simple looking wall more demanding to finish.