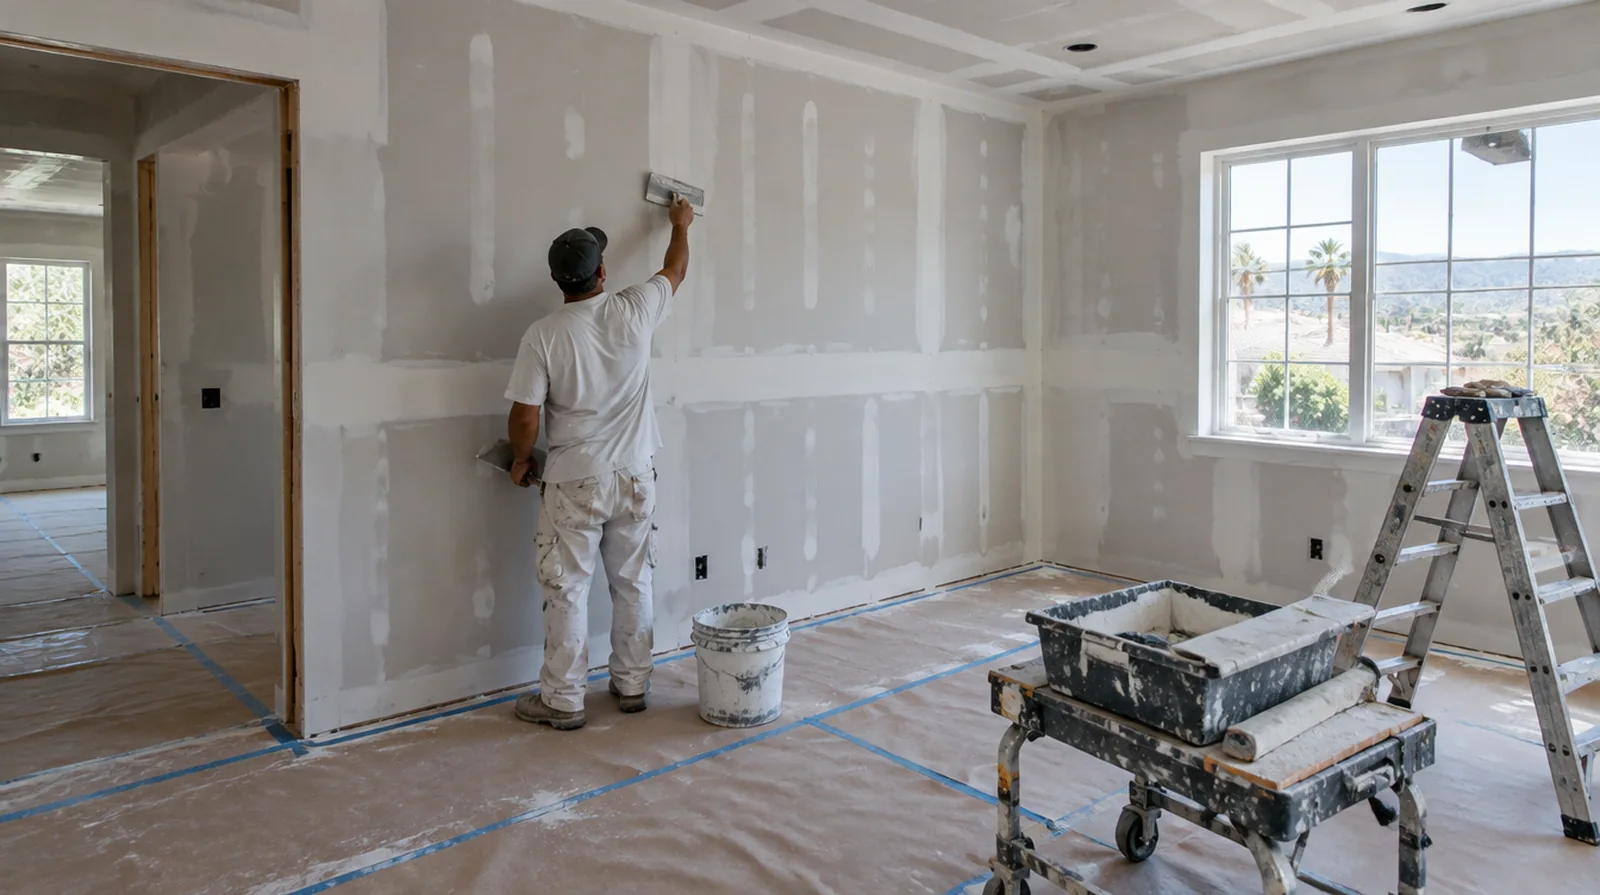
Cover fastener heads
Fill fastener depressions level with the surrounding face without creating unneeded mounds. Adjust any projecting or paper breaking screw before applying material over the location. When building management controls access, agree delivery hours and common area protection before committing to a start or finish date.
Coordinate with the painter
Primer could reveal small imperfections that were challenging to see on the raw white surface. Establish responsibility for those final adjustments and any review after priming before the work starts. In a room with little free floor space, identify temporary storage for belongings and establish sufficient clearance for the work before delivery.
Inspect the whole wall
Checking only the joint lines misses transitions near corners, ceiling edges and electrical boxes. Check the finished plane under the planned lighting and from a side angle where possible. Where light reflects along the wall surface, inspect the complete plane instead of limiting the review to the edge immediately next to the repaired section.
Consider a skim layer
Light passing across a wall can emphasize the difference between finished joints and the panel paper. A suitable skim treatment could help create a more uniform surface when the specification calls for it. If the proposal requires return visits, identify the purpose of each stage and the intervals during which finishing material needs to remain undisturbed.
Assess the hung board
Finishing cannot fully correct unsupported edges or panels that sit on different planes. Check how the sheets sit and how the fixings hold them instead of beginning with compound immediately. At a repair beside an opening, allow clearance for moving board through the doorway and space to use the finishing tools effectively.
Keep external corners straight
Corner bead provides a consistent line but needs secure installation and sufficient compound coverage. Dents or twists should be corrected before the finish locks them into the wall surface. If the project is part of a larger remodel, settle the sequence with flooring, trim and cabinet work before setting a final finishing date.
Embed the tape
Tape needs a properly bonded bedding coat underneath its full length. At an internal angle, form a clean crease and finish both sides without leaving unsupported edges. If a separate painter completes decoration, agree the condition of the handed over surface and assign responsibility for small final corrections.
Choose joint materials
Joint bedding and the last surface coats do not necessarily call for identical products. Selection should reflect joint type, conditions within the room and the manufacturer guidance instead of convenience alone. At a repair beside an opening, allow clearance for moving board through the doorway and space to use the finishing tools effectively.
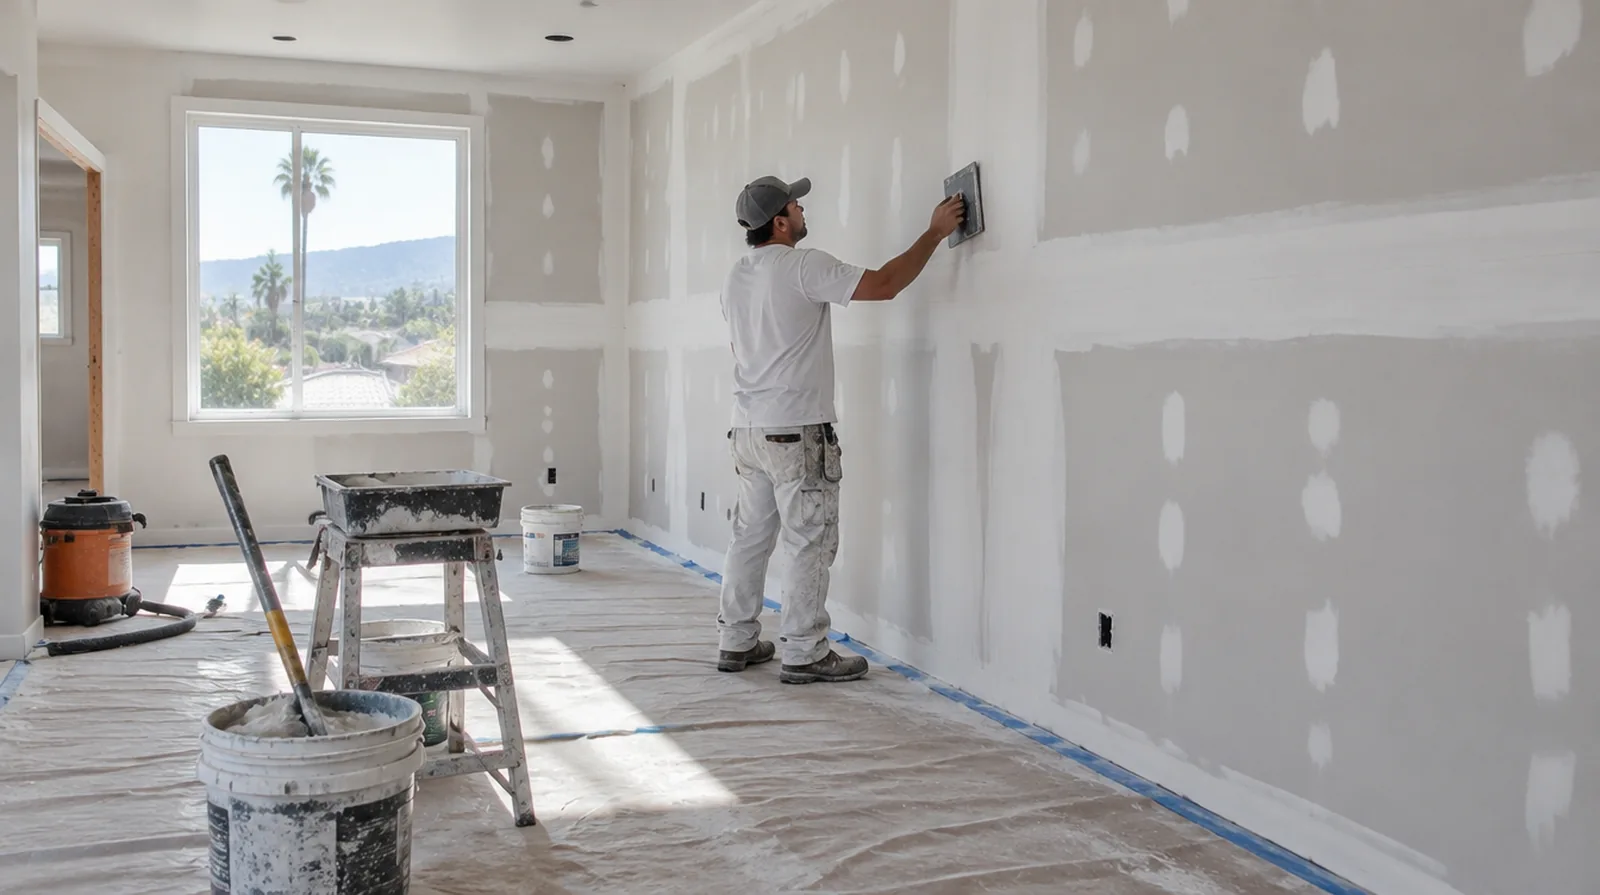
Use controlled sanding
Sanding should refine small tool marks rather than grind away a badly shaped joint. Dust extraction and protection matter even for a room with only a few seams. For a limited patch requiring substantial setup, assess the complete package of access and protection rather than relating cost only to the opening size.
Agree on the visual standard
Agree how the completed wall will be viewed and decorated before choosing the finishing standard. A stated finish level helps both the drywall trade and the decorating trade work toward the same result. When painting is outside the proposal, describe the remaining decorative preparation clearly so another contractor can price that stage accurately.
Project context in Pomona
A small sample or a dry review under the room lighting can help settle expectations before the whole surface reaches the decorating stage. For a Pomona renovation, decide what the finished room will contain before closing an open wall.
Scope questions before finishing
Where the quoted work stops before painting, request an explicit description of what remains so the next decorating stage can be priced realistically.
In a room with little free floor space, identify temporary storage for belongings and establish adequate clearance for the work before delivery.
For a project involving a building manager, confirm access hours and protection requirements before promising a start date or a short completion window.
If the completion date matters most, allow for intervals between coats as well as active labor instead of assuming the entire process happens continuously.
For an older repair with no clear history, describe when the mark first appeared and whether it has changed through more than one season.
Where light reflects along the wall, inspect the complete plane instead of limiting the review to the edge immediately next to the repaired section.
Where occupants have dust sensitivity concerns, agree containment and cleaning measures before settling the way the interior will be staged.
If the project is part of a larger remodel, settle the sequence with flooring, trim and cabinet work before setting a final finishing date.
When the history of a repair is uncertain, note when it became visible and whether its appearance has altered across distinct seasons.
Where a finished perimeter is prominent, decide whether trim stays in position or is removed before agreeing how the new surface meets that edge.
For a distinctive existing pattern, retain a reference sample or detailed picture to make the matching discussion more specific.
If the proposal requires return visits, identify the purpose of each stage and the intervals during which finishing material needs to remain undisturbed.
Explore the Pomona drywall overview for related options, or read the project planning information before arranging the next stage.
More planning details for Pomona
Shelving, cabinets and other fixtures can require backing or service coordination that is easier to address during installation. Strong side lighting can also make a simple looking wall more demanding to finish. Show the intended lighting arrangement and paint sheen while discussing the surface standard.