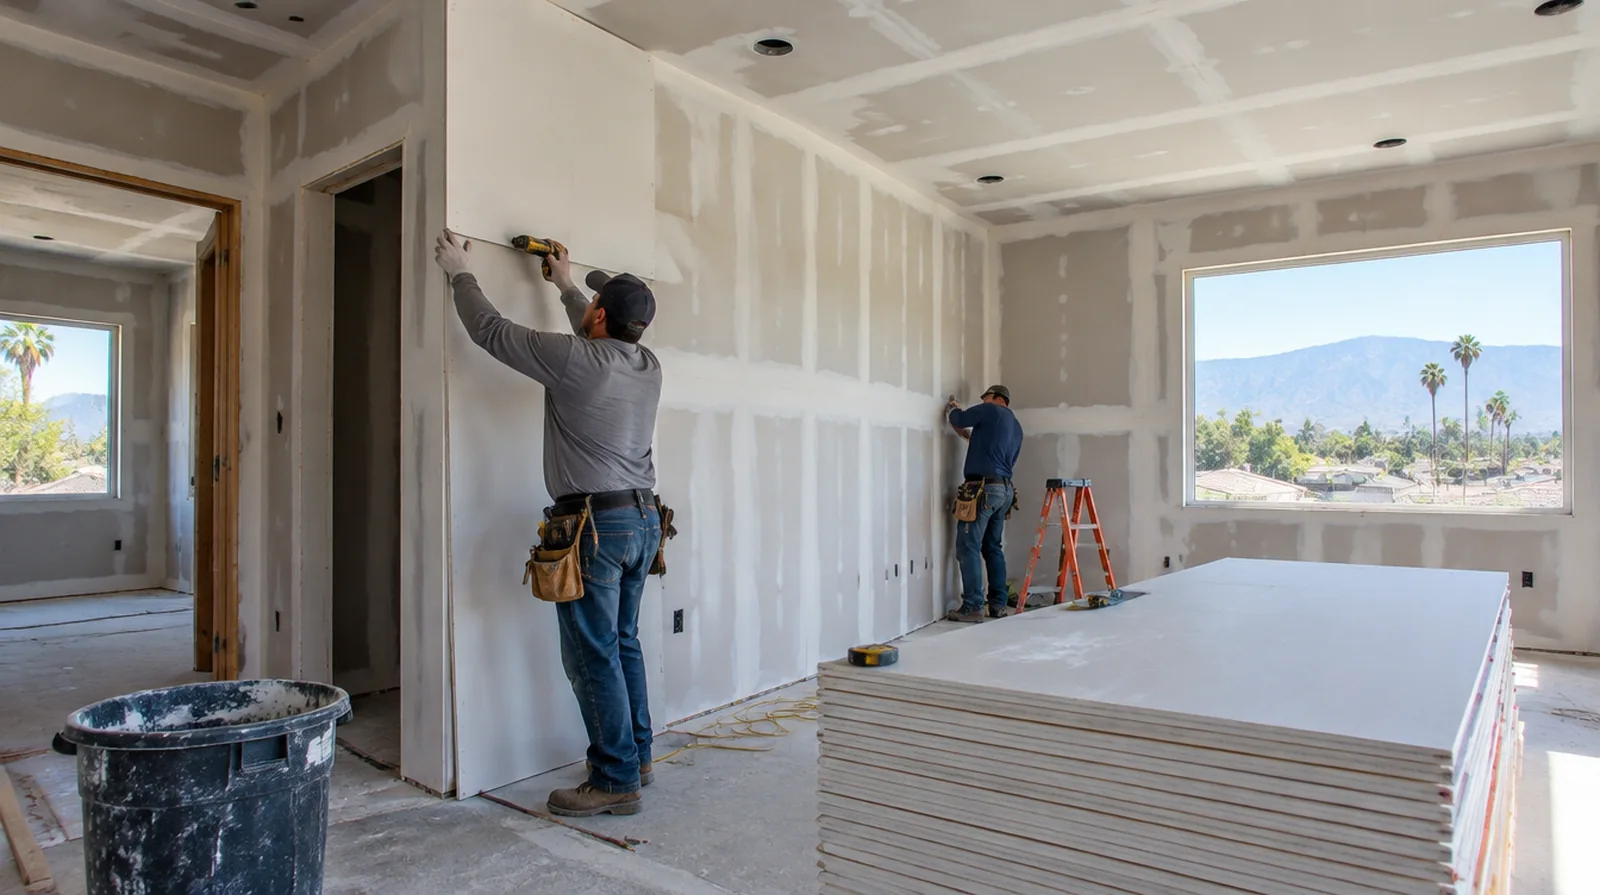
Select appropriate panels
Panel thickness and type depend on the intended wall or ceiling assembly and the conditions in the space. A board described as moisture resistant does not replace waterproofing where the wet area detail requires it. At an edge beside built in furniture, state whether the obstruction will be removed or whether finishing stops at the section that can be reached.
Confirm concealed work
Wiring, plumbing and insulation inspections might have to happen before the cavity is closed. Photographs and a written readiness check help avoid opening a newly installed wall later. When damage followed other building work, describe the nearby alterations and the sequence between those changes and the first noticeable defect.
Plan deliveries and access
Sheet dimensions need to suit the available stairs, doors and handling space as well as the finished wall. Allow for stairs, tight turns and storage when assessing material movement and installation labor. Where a surface has been painted many times, consider whether differences in texture or sheen will require a wider decorative treatment.
Lay out the joints
Arrange supported sheet edges and joint positions with the openings and final finish in mind. A sensible panel pattern makes both the fastening stage and the later joint treatment more straightforward. When more damage could be hidden, ask how any added scope will be documented before extra material is removed or replaced.
Measure the complete assembly
Calculate the board layout from all the surfaces and openings instead of the interior floor area alone. A measured layout helps reduce narrow infill strips and unneeded joints around doors. If the surface condition is uncertain, allow for an assessment that can distinguish stable material from layers that ought not to be covered.
Sequence the finishing work
Allow the joint treatment to proceed in suitable conditions with adequate intervals between applications. Discuss how ventilation and access will be maintained while other renovation work continues. If the original finish is unusual, keep a small reference sample or a close photograph to support the discussion about blending and restoration.
Define the finish level
Hanging board and delivering a paint ready wall are differing stages that should be described separately. The chosen sheen and grazing light conditions can require a higher surface standard in a prominent room. When building management controls access, agree delivery hours and common area protection before committing to a start or finish date.
Inspect supporting framing
Drywall follows the framing underneath it, so bowed studs or uneven backing can show through the finished surface. Deal with significant framing irregularities while the structure is exposed, before the boards conceal it. When comparing competing estimates, make sure their protection, surface finish and disposal allowances describe equivalent work before comparing the final prices.
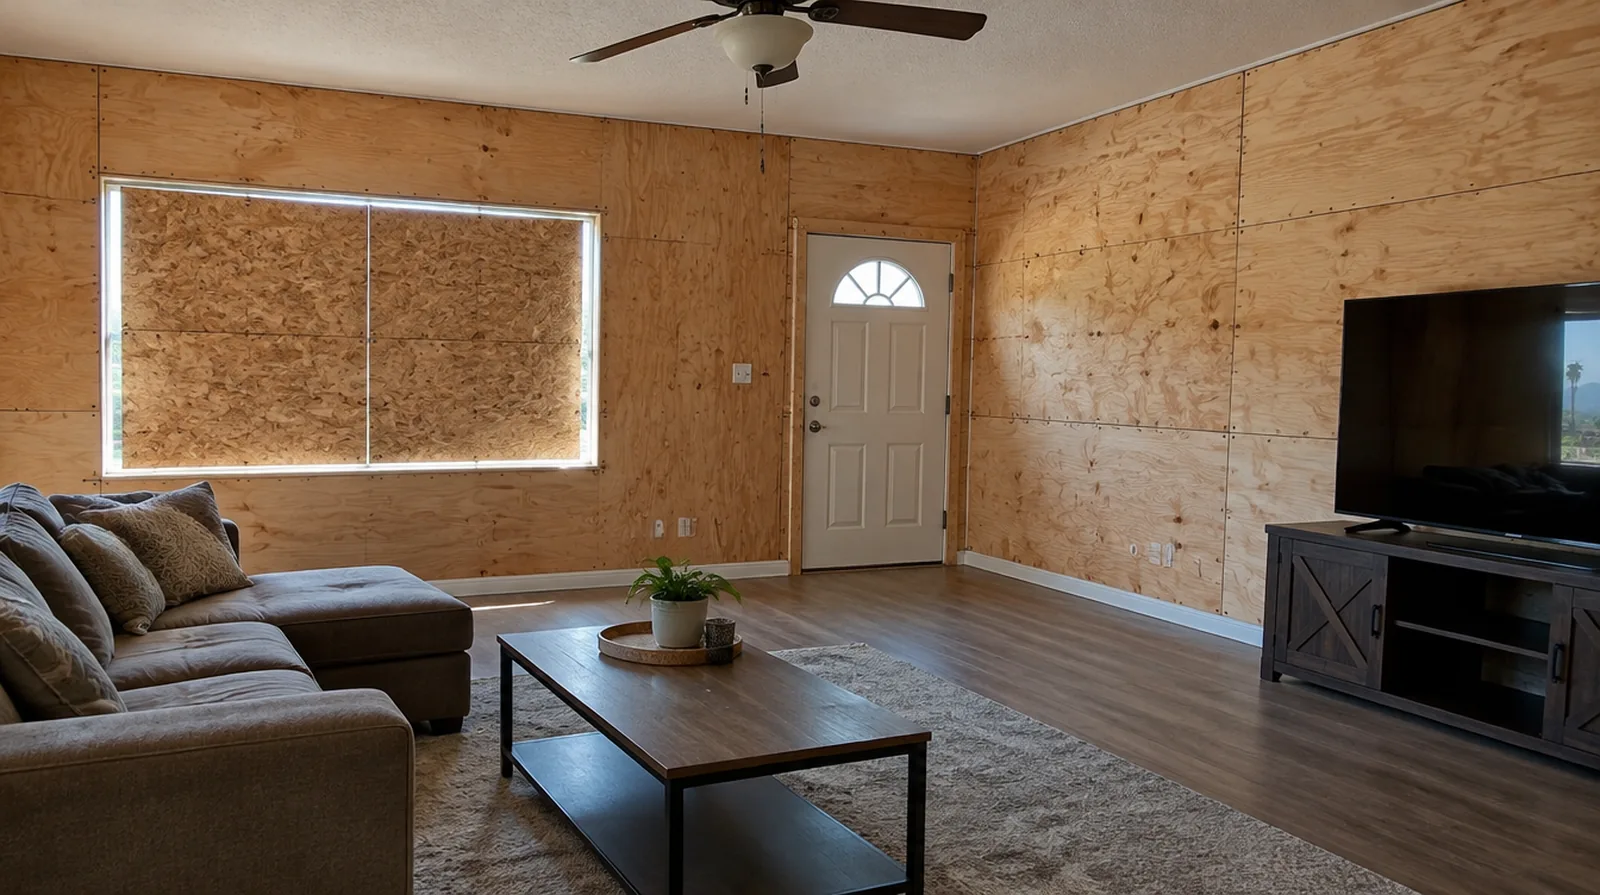
Inspect before decoration
Review dry finished walls while their edges remain noticeable and before fixed furnishings obstruct access. Use the agreed lighting and note any further preparation the painter should expect. If there is a fixed move in date, reserve enough time for the coating stages after drywall work instead of counting only the installation period.
Fit corners and openings
Door returns and exposed corners require a straight consistent edge before the final compound coats are applied. The corner profile should be selected to match the intended appearance and the expected wear. While a removed panel exposes the wall cavity, complete the necessary review of concealed work before replacement board closes the opening.
Project context in Pomona
During hot weather, the room itself may be cooled, so outside temperature does not tell the whole drying story. Show the intended lighting arrangement and paint sheen while discussing the surface standard.
Scope questions before finishing
When reviewing the finished work, use the agreed lighting and natural room viewpoints so the assessment reflects the intended use of the space.
At a repair beside an opening, allow clearance for moving board through the doorway and space to use the finishing tools effectively.
When painting is outside the proposal, describe the remaining decorative preparation clearly so another contractor can price that stage accurately.
If materials must cross common building areas, plan the protection and access route so other occupants are not needlessly obstructed by deliveries.
Where light reflects along the wall, inspect the complete plane instead of limiting the review to the edge immediately next to the repaired section.
When the decorative coating has been selected, tell the finisher its intended sheen and color while the preparation of the surface standard is still being agreed.
For an initial assessment from pictures, provide an overall room photograph and a detailed view of the defect so both context and scale are apparent.
If the surface condition is uncertain, allow for an assessment that can distinguish stable material from layers that should not be covered.
For an older repair with no clear history, describe when the mark first appeared and whether it has changed through more than one season.
For work spread across distinct planes, record their dimensions separately and describe the boundary of the treatment on each surface.
If the problem developed after another renovation, explain which nearby materials or building systems changed before the damage became visible.
If a distinct painter completes decoration, agree the condition of the handed over surface and assign responsibility for small final corrections.
Explore the Pomona drywall overview for related options, or read the project planning information before arranging the next stage.
More planning details for Pomona
For a Pomona renovation, decide what the finished room will contain before closing an open wall. Shelving, cabinets and other fixtures can require backing or service coordination that is easier to address during installation. Strong side lighting can also make a simple looking wall more demanding to finish.