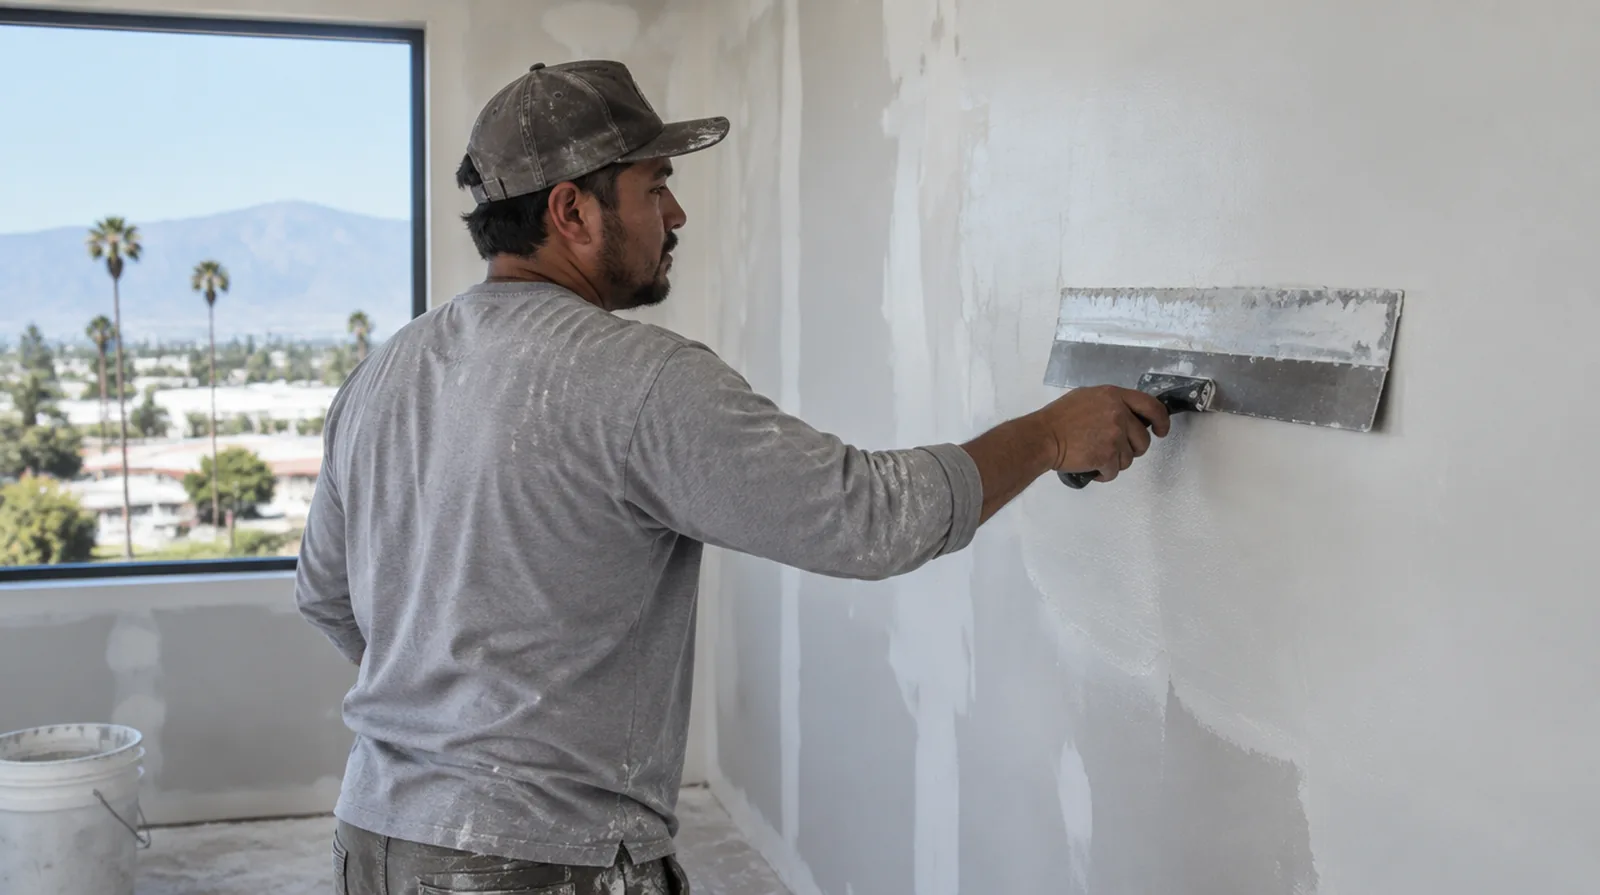
Work around trim carefully
Protect the junctions around frames, baseboards and fittings while project planning how the new surface will meet them. Review whether removing trim is worthwhile or whether the finish will stop cleanly against it. If the coating stability is unclear, assess which layers are adequately bonded and which ought to be removed rather than simply hidden beneath new material.
Clean and prepare the wall
Adhesion can be compromised by dirt, oil or residues left on the old coating. Preparation may include cleaning and a suitable bonding treatment based on the condition of the original surface. In a room with little free floor space, identify temporary storage for belongings and establish enough clearance for the work before delivery.
Apply controlled thin layers
Build a refined surface with controlled applications rather than a heavy unsupported deposit. More than one pass may be necessary where the original texture creates deeper low points. If materials must cross common building areas, plan the protection and access route so other occupants are not needlessly obstructed by deliveries.
Choose paint with the finish
A glossy decorative choice may reveal variations that a lower sheen makes less apparent. Connect the paint selection to the agreed preparation standard before deciding how extensive the skim work should be. Where a surface has been painted many times, consider whether differences in texture or sheen will require a wider decorative treatment.
Define the smoothing target
Removing the visual effect of light texture is not the same task as straightening a badly uneven plane. Describe the expected improvement and any retained wall variation in the agreed finish scope. Where a finished perimeter is prominent, decide whether trim stays in position or is removed before agreeing how the new surface meets that edge.
Check underlying movement
A skim coat improves the surface profile but does not repair structural movement or unstable board. Recurring cracks ought to be investigated and reinforced appropriately before the finish is covered. For an initial assessment from pictures, provide an overall room photograph and a detailed view of the defect so both context and scale are apparent.
Inspect using side light
A surface can appear even under direct lighting while revealing shallow tool lines from the side. The review should reflect the conditions that will matter when the space returns to everyday use. Where a future fixture will be installed, coordinate any required backing while the cavity is accessible rather than reopening the completed wall.
Refine with minimal sanding
Careful application limits how much abrasive refinement is needed later. Dust control should still be planned because broad wall work can create fine airborne particles. Where a neat final edge matters, agree whether the finish ends against existing trim or whether that trim will be removed and replaced.
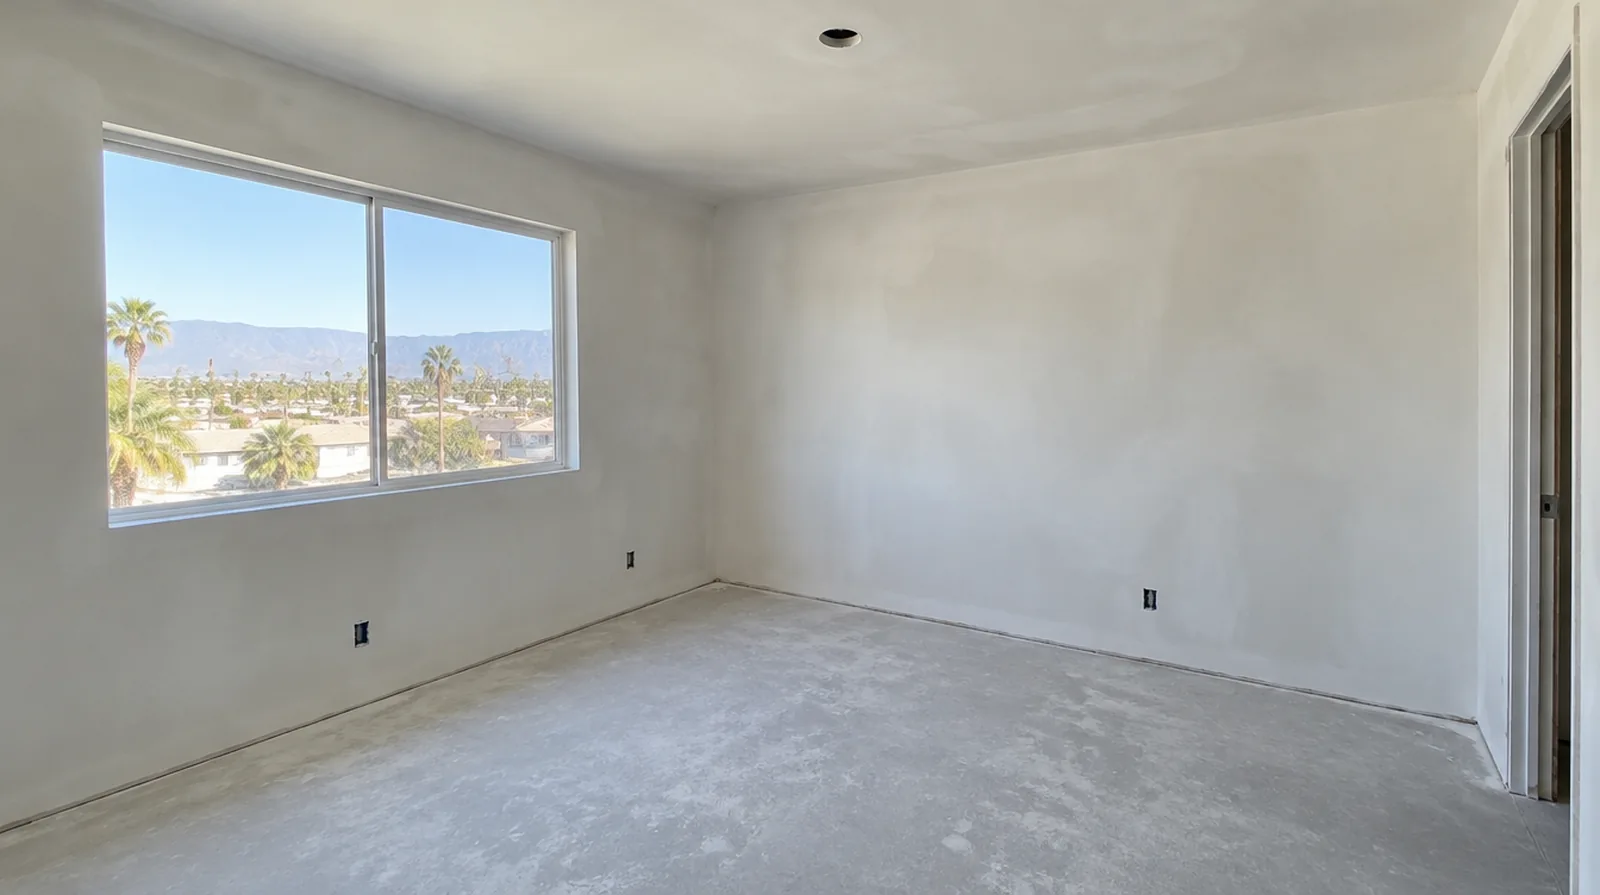
Stabilize torn paper
Wet finishing material can lift damaged paper if the exposed area has not been suitably prepared. Stabilize those paper defects with an appropriate treatment before beginning the broad skim application. For a tightly furnished room, plan temporary storage and the minimum working clearance before material is carried into the property.
Let each coat dry
Room temperature, humidity and airflow influence time needed for drying across a broad coated surface. A rushed next coat can drag or disturb material that has not set up sufficiently. If the ceiling or wall includes fittings, identify the person responsible for removing and reinstalling each item before the work begins.
Project context in Pomona
Identify where sheets and tools can be staged without damaging existing trim. Strong side lighting can also make a simple looking wall more demanding to finish.
Scope questions before finishing
For a distinctive existing pattern, retain a reference sample or detailed picture to make the matching discussion more specific.
For a surface that will receive wall covering, share the product requirements early so the finishing stage supports the planned decorative treatment.
For a surface carrying numerous paint layers, discuss whether differences in the retained profile or sheen justify decorating a broader area.
When comparing competing estimates, make sure their protection, surface finish and disposal allowances describe equivalent work before comparing the final prices.
For a limited patch requiring substantial setup, assess the complete package of access and protection rather than relating cost only to the opening size.
Where a future fixture will be installed, coordinate any required backing while the cavity is accessible rather than reopening the completed wall.
If the ceiling or wall includes fittings, identify the person responsible for removing and reinstalling each item before the work begins.
When the history of a repair is uncertain, note when it became noticeable and whether its appearance has altered across differing seasons.
For a room that stays in use, set a workable boundary around construction while retaining the access people need for normal daily activities.
When panel replacement exposes a cavity, resolve any required inspection before that opening is closed and the surface finishing begins.
At an edge beside built in furniture, state whether the obstruction will be removed or whether finishing stops at the section that can be reached.
If the final paint is already chosen, share its sheen and color early because those choices influence how preparation of the surface is judged.
Explore the Pomona drywall overview for related options, or read the project planning information before arranging the next stage.
More planning details for Pomona
For a Pomona renovation, decide what the finished room will contain before closing an open wall. Shelving, cabinets and other fixtures can require backing or service coordination that is easier to address during installation. Show the intended lighting arrangement and paint sheen while discussing the surface standard.