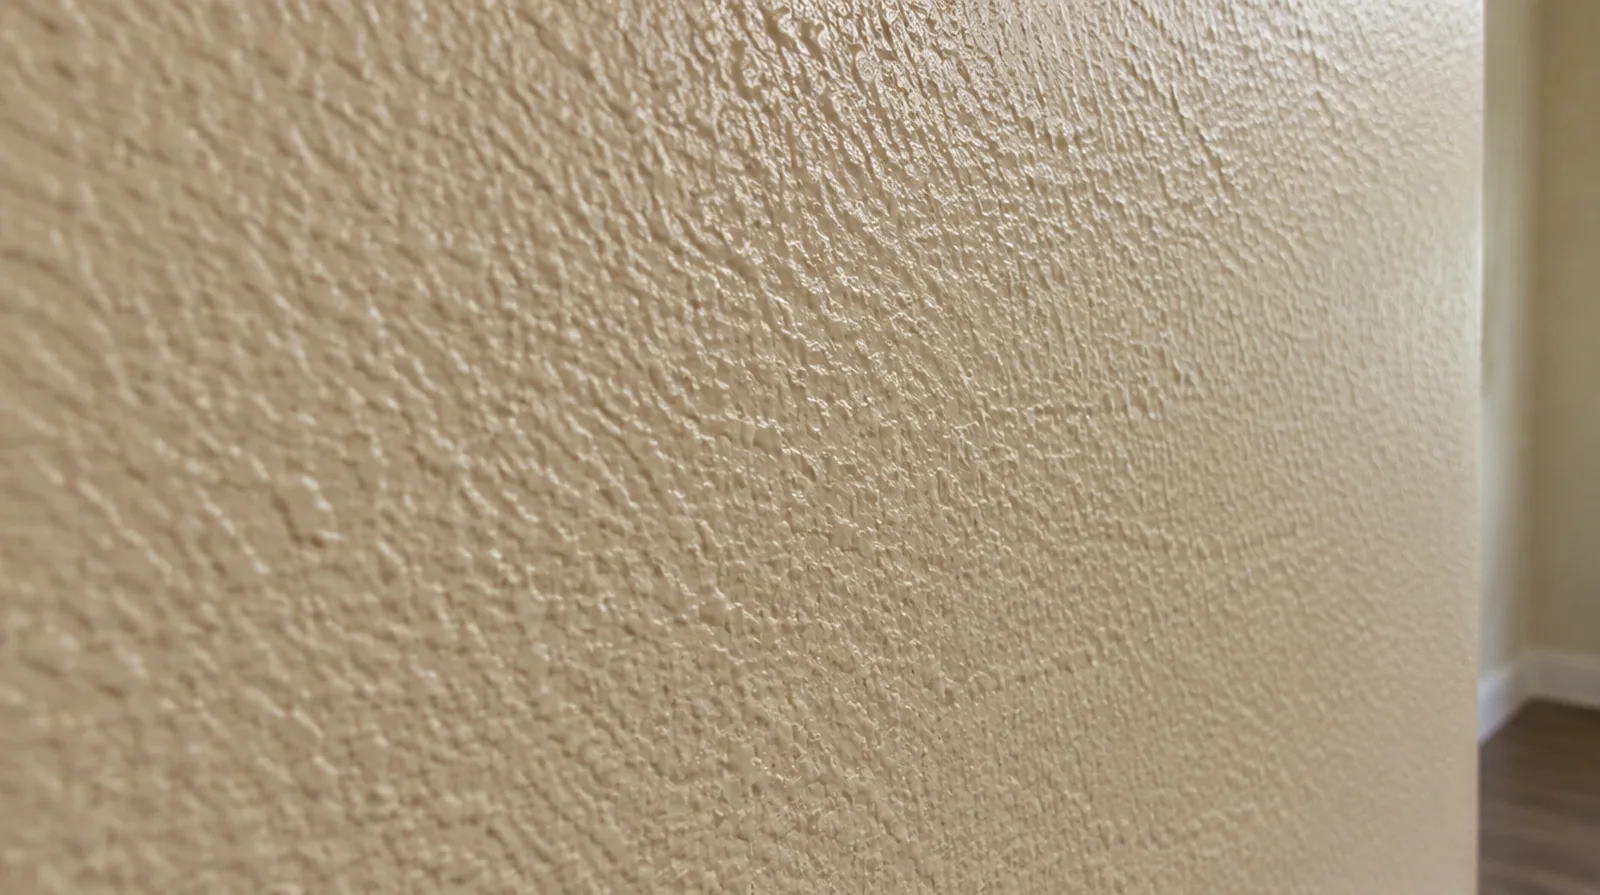
Judge from normal positions
Close inspection of a wet sample is less useful than reviewing the dry finish from ordinary room viewpoints. The planned coating sheen and oblique light both belong in the final appearance discussion. For a planned new wall mounted fixture, resolve its backing requirements while the cavity remains open instead of cutting into completed drywall later.
Identify the existing pattern
Orange peel, knockdown and hand applied textures create differing depths and shadow lines. Examine the surface in the light the room actually receives before choosing a spray or hand applied method. For a limited patch requiring substantial setup, assess the complete package of access and protection instead of relating cost only to the opening size.
Use appropriate primer
A new texture and the painted wall around it can take up paint unevenly. A suitable primer helps the paint system perform consistently without changing the texture profile unnecessarily. For a limited patch requiring substantial setup, assess the complete package of access and protection rather than relating cost only to the opening size.
Allow time before painting
Let a new texture become ready for decoration rather than applying paint onto soft material. Establish whether the proposal includes that decorative stage or hands the surface over to another trade. For an older repair with no clear history, describe when the mark first appeared and whether it has changed through more than one season.
Study the paint layers
Older paint coats may have filled or rounded the original texture profile. Matching the wall as it looks now may require a different application from the pattern that was first installed. If scheduling is the main concern, separate hands on labor from drying intervals instead of treating every visit as a full day of active work.
Set realistic blend expectations
An exact invisible match is not always possible on a weathered or repeatedly painted surface. If local matching remains obvious, discuss whether a wider surface treatment would be preferable. When photographs are used for an initial discussion, include a wide room view as well as a close view so scale and surrounding finishes are understandable.
Blend beyond the patch
An abrupt rectangular texture boundary often draws attention even when the pattern itself is close. Gradually extending the texture into the surrounding surface may make the blend less abrupt. When reviewing the finished work, use the agreed lighting and natural room viewpoints so the assessment reflects the intended use of the space.
Consider hand applied surfaces
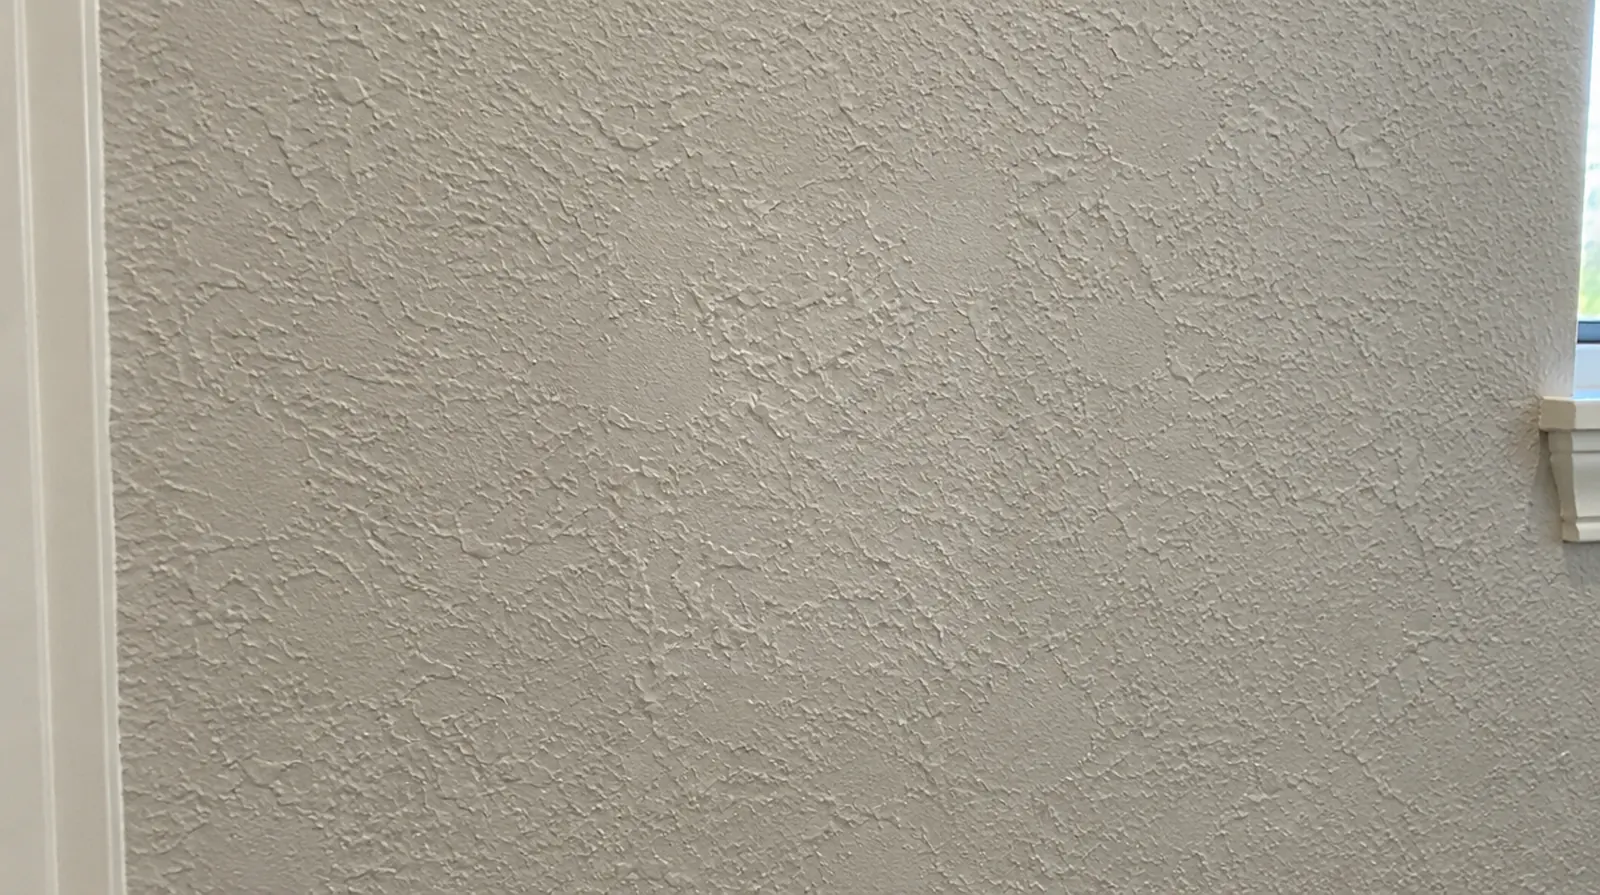
For a troweled pattern, the tool movement and the spacing between its marks matter. A representative trial is useful when there is no standard machine setting that reproduces the current finish. When painting is outside the proposal, describe the remaining decorative preparation clearly so another contractor can price that stage accurately.
Protect surrounding finishes
Texture overspray can settle on trim, flooring and nearby fittings if they are not masked. Protect the full reach of the operation, including fittings and trim beyond the original damaged spot. For an initial assessment from pictures, provide an overall room photograph and a detailed view of the defect so both context and scale are apparent.
Prepare a sample area
A small test helps establish particle size, spacing and the amount of flattening needed. Reviewing the sample before coating the full repair reduces uncertainty about the expected blend. When the same defect has returned, share information about previous repair methods so the next assessment can consider why they did not last.
Project context in Pomona
Strong side lighting can also make a simple looking wall more demanding to finish. Identify where sheets and tools can be staged without damaging existing trim.
Scope questions before finishing
Where light reflects along the wall, inspect the complete plane instead of limiting the review to the edge immediately next to the repaired section.
Where occupants have dust sensitivity concerns, agree containment and cleaning measures before settling the way the interior will be staged.
If the final paint is already chosen, share its sheen and color early because those choices influence how substrate preparation is judged.
For walls beside bright windows, review a dry sample from an oblique angle as well as looking straight at the repaired surface.
Where the quoted work stops before painting, request a well defined description of what remains so the next decorating stage can be priced realistically.
For a tightly furnished room, plan temporary storage and the minimum working clearance before material is carried into the property.
Where a finished perimeter is prominent, decide whether trim stays in position or is removed before agreeing how the new surface meets that edge.
If the proposal requires return visits, identify the purpose of each stage and the intervals during which finishing material needs to remain undisturbed.
For a limited patch requiring substantial setup, assess the complete package of access and protection rather than relating cost only to the opening size.
In a room with little free floor space, identify temporary storage for belongings and establish enough clearance for the work before delivery.
If the coating stability is unclear, assess which layers are adequately bonded and which should be removed rather than simply hidden beneath new material.
If the room will remain occupied, identify a practical separation between the work area and the space that still needs daily access.
Explore the Pomona drywall overview for related options, or read the project planning information before arranging the next stage.
More planning details for Pomona
For a Pomona renovation, decide what the finished room will contain before closing an open wall. Shelving, cabinets and other fixtures can require backing or service coordination that is easier to address during installation. Show the intended lighting arrangement and paint sheen while discussing the surface standard.